
Millennials and Gen X are the most tattooed generations, with approximately 47% of Millennials and 32% of X getting inked. Although the status symbol of tattoos establishes a sense of exclusivity and fashion, many wearers can rarely live with the art for life.
Consequently, many tattoo artists have resorted to temporary tattoo papers, offering removable tattoos. Are you a professional tattoo artist or DIYer seeking to create high-quality temporary tattoos?
Explore the following tips to master the art of printing on temporary tattoo papers.
1. Choose or Create a Unique Tat Design
Many DIYers and professional artists prefer complexity and exclusivity. The distinctiveness of a tat design depends on the qualities and exclusive elements. You can create a bespoke design using free or paid online design tools like Photoshop or Adobe Illustrator. On the other hand, you can download pre-made designs from trusted online sources.
Make a horizontal image flipping before printing it on your favorite temporary tattoo paper. Whether the image is symmetrical design or text, flip it to see how it will appear when inked to your skin. Use high-resolution images of at least 300 DPI to get crisp and clear tattoos.
2. Test the Design on a Regular Paper
Many temporary tattoo papers are seldom reusable. Erroneous designs usually render these papers impractical, causing a loss of finances and time. Apply the tattoo design to regular paper before transferring it to your tattoo paper. You want assurance that the design meets your color, sizing, and configuration specifications. Identify errors and misconfigurations in your design and make fundamental alterations to improve its appeal and accuracy.
Load the standard printer paper sheet into your printing equipment and print the tattoo design. Observe critical elements like image sharpness, color configurations, and size. The approach gives an unaltered version of the image you will get after inking the tattoo on your skin. Testing your design before application prevents resource and time wastage. Additionally, it’s a preventive measure to avoid errors and ensure you get the desired results.
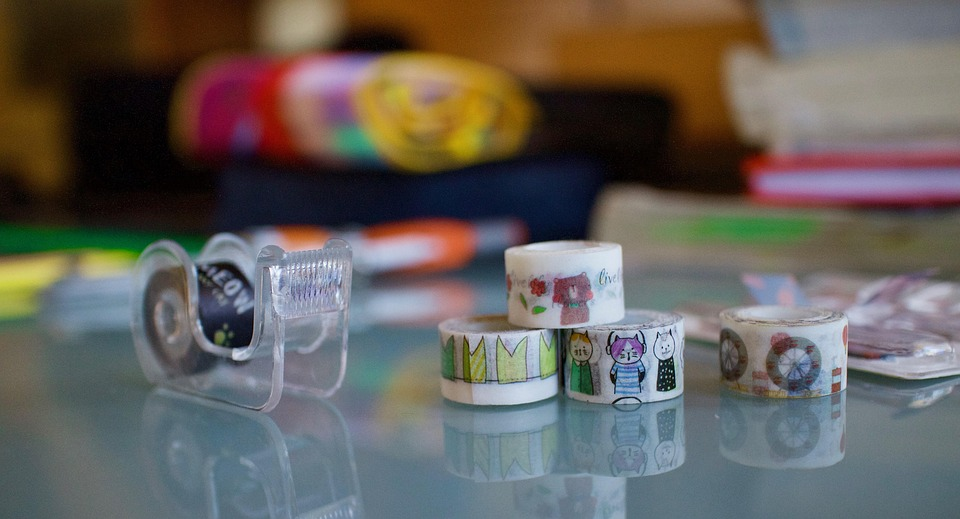
3. Use High-Quality Paper and Print on the Correct Side
The quality of the tattoo on your skin depends on the paper quality and application process. Choose a high-quality temporary paper with superb ink compatibility, protective adhesive film, and high-gloss finish. These features facilitate a quick and efficient tattoo design application. They generate admirable final results that resist rubbing and smudging.
The outcomes of the printing process also depend on the paper side used. Temporary papers have a smooth side with a special coating to absorb the ink from your printing machine. The adhesive side has a shiny/glossy finish that sticks firmly to your skin. Printing on the adhesive side leads to unclear results.
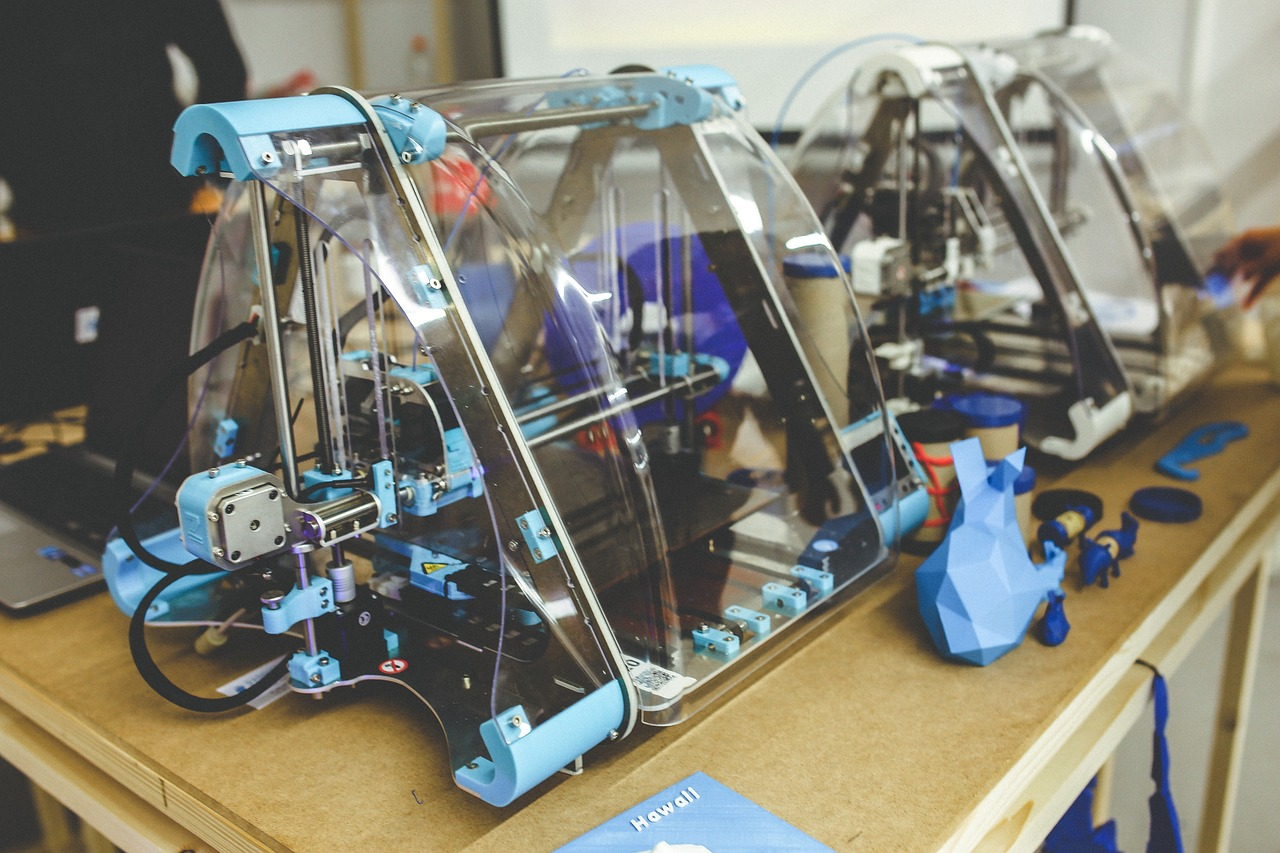
4. Choose and Prepare the Printer
Look for a printer compatible with the temporary tattoo paper. The wrong printer can ruin the paper or cause smudging. Use inkjet printers for a more vibrant appeal and laser printers for sharper details. You should clean your printer head and confirm the toner levels to avoid faded prints or streaks. Load the temporary tattoo paper to the printer one sheet at a time, ensuring the printable side faces up. Adjust paper settings to your printer’s properties to optimize toner and ink adhesion.
Tattoo artists and DIYers seeking superb and outstanding outcomes should use images with 300 dpi or higher. Ensure you set the print quality to “Best” or “High” to optimize color richness and detailing. Printed work loses its superiority when exposed to human handling before the ink dries. Adjust the ink saturation settings to prevent smearing for printing machines that produce extra wet results.
5. Layer the Adhesive and Cut the Design
Most temporary tattoo paper prints dry within 10 to 15 minutes. Peel the back section of the adhesive sheet and configure it to align with the tattoo paper. Press the paper down as you strip off the backing to achieve a smooth adhesion free of trapped air bubbles. A flat tool like a credit card and squeegee firmly presses the paper, ensuring a smooth and even adhesive layer over the design. Pressing the paper down from the center outwards prevents crumples. It allows for effortless transfer and a clean tattoo.
Cut the temporary tattoo design accurately to get a clean and impressive piece. Use a craft knife or sharp scissors to minimize errors and avoid hurting yourself. Be consistent and diligent in making precise cuts. You are sure of an appealing tattoo when the cuts are accurate and the application seamless. Rounded edges offer better outcomes than sharp corners because they prevent peeling and enhance adhesion. Use a cutting mat to obtain accurate results and avoid errors when using a craft knife.
Wrapping Up
Do you have a tattoo project and want to print designs on temporary paper? The tools and steps you follow impact the quality of the final project. Create the tattoo design and test its efficiency on a regular paper before transferring it to temporary tattoo paper. Use high-quality paper and print on the recommended side for better quality outcomes.
Choose a high-quality printer compatible with the paper and adjust the settings for optimal printing efficiency. Ensure the design dries properly before cutting and applying the adhesive.